
January 5 2020
For some time, I have wanted to add a resin 3D printer to my small collection of printers. After some deliberation and comparing of specs, I settled on the Prusa SL1. With choosing one of the more expensive resin based printers, I was hoping I would be able to integrate the 3D printer into the Legends of Kalidasia Workflow. Over the next few posts in this series, I will explore exactly where the printer will fit in.
Resin 3D printers have a vat of liquid resin that is cured one layer at a time. The bottom of the vat is generally a plastic film and each layer of the miniature is cured attached to this film. The printer must than remove the layer from the film without causing the miniature to detach from the build plate or break away from existing layers.
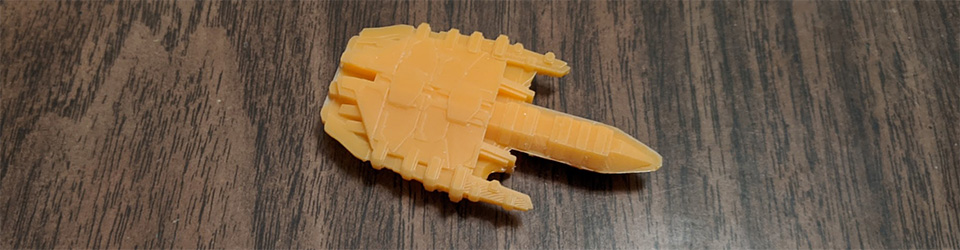
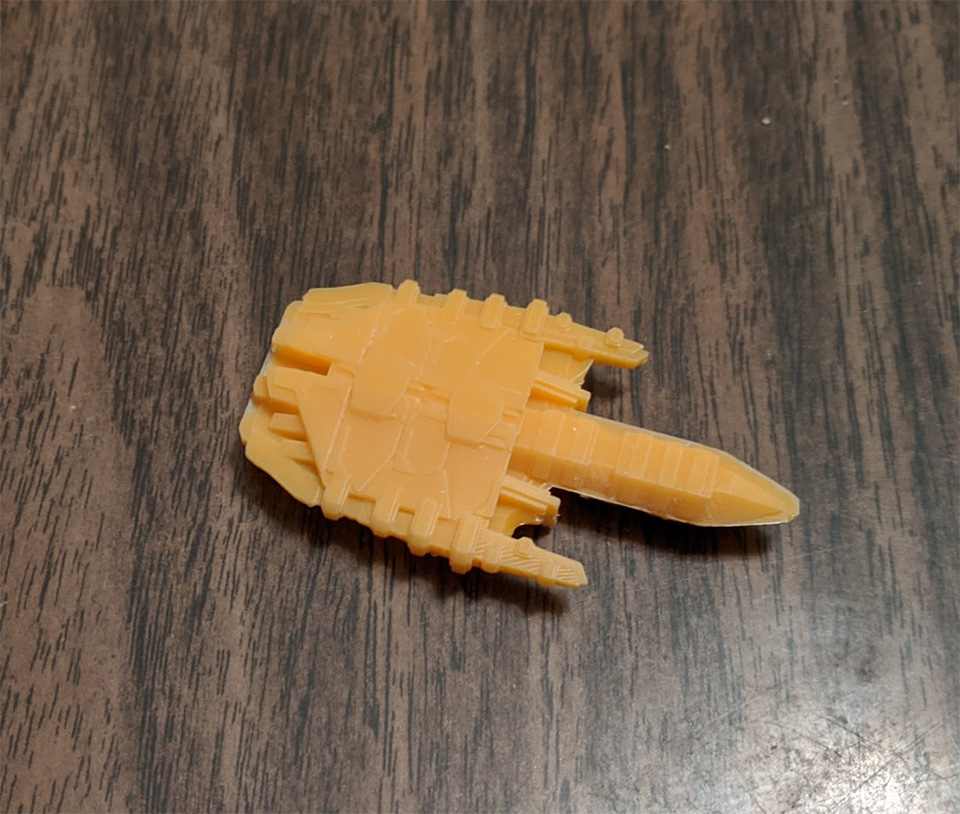
Larger miniatures can have a real problem with breaking away from its supports and for resin printers, large is a relative term. A Surakari Frigate, which measures a little under 2″ long is considered a large miniature. At the time I’m writing this post, I have been having lots of problems with a Surakari Frigate breaking away from its supports.
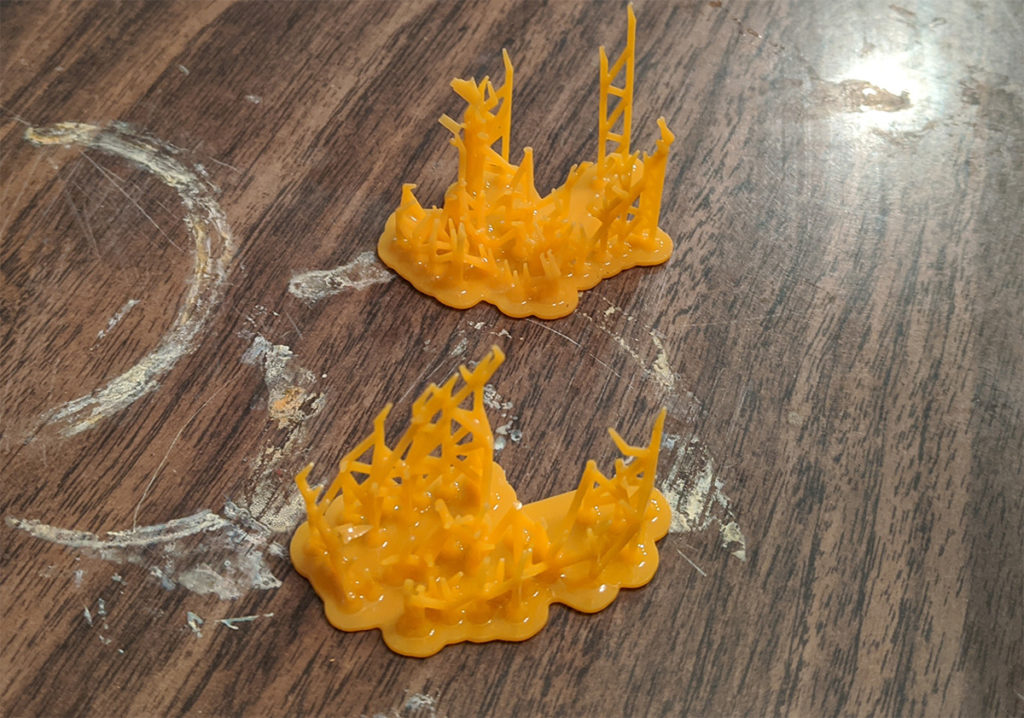
This is not an impossible problem to solve. It is just a process of trying different alignments and support options. The image shown at the top of the post is the one successful print I have had at this time. That one was oriented parallel to the build surface. While the quality of the top of miniature is excellent and is even better than the pewter production miniatures, the bottom of the miniature is in rough shape because of all the supports.
If you want to try out that particular print, here is the SL1 file for the Prusa SL1.
Anyway, that’s it for now. More updates on this process will be out soon.
